
 October 28, 2026
Filament Sample Approval Checklist: What Buyers Should Check
Check filament samples, record results and sign off product, packaging and orders separately with a practical checklist and downloadable buyer record.

When a filament sample arrives, check its dimensions, arrival condition, winding, identification, print results and color against your agreed requirements. Sign off the product, packaging and order separately so that a good test print does not become an accidental go-ahead for everything else. FilaSource samples are paid; sample fees may be credited toward the first order when agreed in writing.
What should I check when a filament sample arrives?
Take arrival photos before you open the packaging, then note the product reference, material, color and receipt date. Keep the label and packing information with the sample. If identification is missing or does not match what you requested, ask the supplier to clear that up before you start comparing results.

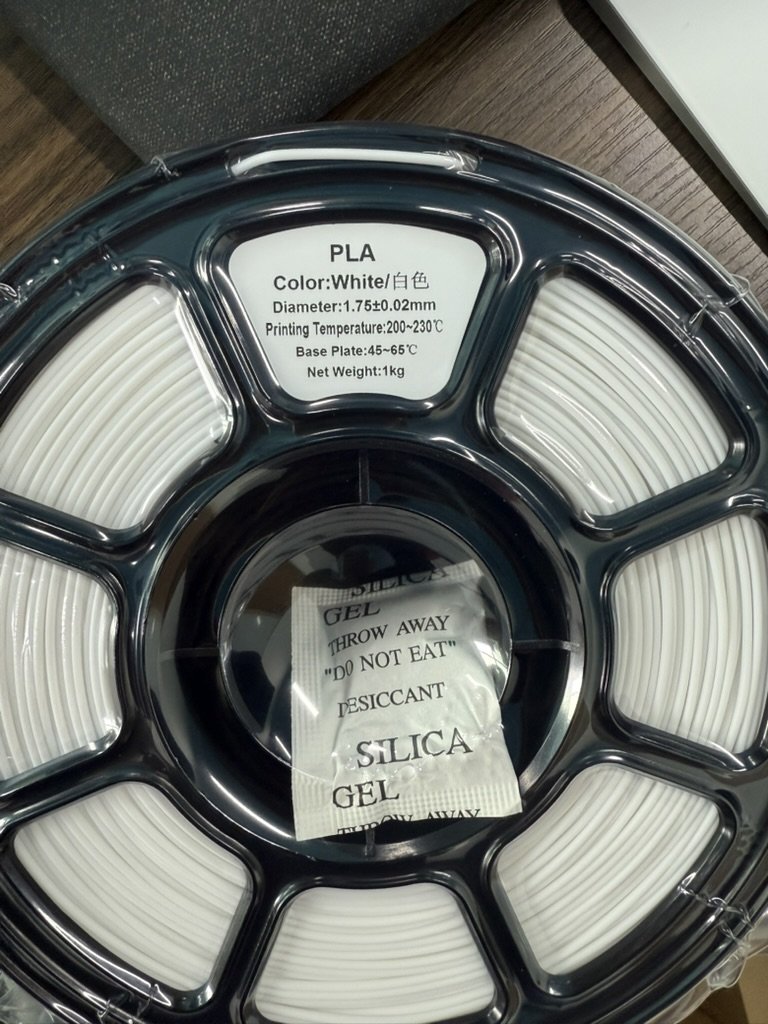
Use this filament sample approval checklist as a test plan, not a ready-made specification. Before testing, have your technical or quality lead agree the method and pass criteria with the supplier. If the technical data sheet (TDS) does not cover a requirement that matters to your business, put that requirement in writing rather than guessing a limit.
| What to check | How to check it | Who sets the pass criteria? |
|---|---|---|
| Diameter and roundness | Use a suitable calibrated measuring tool at different points along the filament and in different directions at each point. Save the readings and identify the sample measured. | Your technical or quality lead, with the supplier, per the TDS or your agreed spec. |
| Moisture concerns and packaging on arrival | Photograph damage, openings or visible moisture. Record how the sample was stored and prepared, plus any concerns noticed during printing. Investigate those concerns rather than treating a visual check as a moisture test. | Your quality lead agrees the inspection and any further testing with the supplier, per the TDS or your agreed spec. |
| Winding and tangles | Inspect the winding and watch the spool feed through the agreed print test. Record snags or tangles, and note how the loose end was handled during your evaluation. | Your print or quality lead, with the supplier, per the TDS or your agreed spec. |
| Label and batch information | Compare the label and supplied paperwork with what you ordered. Check that the agreed product, material, color and batch information is present and consistent; record anything missing. | Your purchasing or quality lead agrees the required fields with the supplier, per the TDS or your agreed spec. |
| Printed test parts: layer bonding, stringing and warping | Choose a test part that represents the intended use. Record the printer, nozzle, profile and preparation; inspect layer bonding, stringing and corner lift using your agreed method. Keep photos and the tested parts. | Your technical lead or print-farm lead, with the supplier, per the TDS or your agreed spec. |
| Color against the approved reference | Compare the agreed sample form with the approved color card or physical reference under agreed viewing conditions. Record the reference used and photograph the comparison for discussion. | Your brand or quality lead, with the supplier, per the TDS or your agreed spec. |
| Comparison with your current filament — optional | Print the same test part with both materials using the comparison plan your team agreed. Keep each profile and preparation record; explain any differences before deciding which result suits the job. | Your technical or purchasing lead, with the supplier, per the TDS or your agreed spec. |
A short “prints well” note will not tell a colleague what passed. Keep the measurements, photos and print settings behind the decision. For FilaSource’s evaluation process, see product validation; the checklist here is your team’s working record, with limits agreed for the product you are evaluating.
How do I record the result so my team can sign off?
Use one short summary for the decision and attach the detailed results. Name the sample tested and specification used, then list unresolved issues and who will handle them.
| Record | Your entry |
|---|---|
| Sample, material, color and receipt date | ____________________________ |
| TDS / agreed spec and test setup | ____________________________ |
| Results, photos and test-part files | ____________________________ |
| Product / packaging / order: separate decisions | ____________________________ |
| Open issues, next action, owner and review date | ____________________________ |
| Approvers, decision date and supplier confirmation | ____________________________ |
Download the full blank sample approval record (CSV) for the detailed fields. Batch or document-reference fields are places to record information supplied for your project, not a promise that a supplier provides every item; mark missing or inapplicable information clearly.
Keep the decision plain: Approved means the agreed checks passed; Conditional means a named issue remains and the team has agreed exactly what can happen next; Hold means the next step waits for a fix or more information. For any condition, name the person who will check the fix and record their decision.
What should I send back if a sample does not pass?
Send a short evaluation report with the supporting files, even if some checks are still open. Use it to explain what needs review before approval and agree the next step with the supplier.
- Identify the sample and where you found the issue. List the product, material, color, receipt date and any supplied order or batch reference. Say which spool, test part or section showed the issue and which samples you actually checked. Mark missing identification explicitly and ask the supplier to clarify it.
- Preserve the original evidence. Keep the tested spool, problem parts and packaging labels. Take clear photos of the labels and the issue before further preparation or reprinting. Where practical, retain an unchanged portion instead of changing every sample before the supplier can review it.
- Build a timeline. Record when you opened the package, how you stored and prepared the filament, and when the issue appeared. Send the printer and nozzle details with the test file and profile or settings used for that run, including any changes made along the way.
- Separate observation from explanation. Describe what you saw and which agreed criterion it missed. Put possible causes in a separate note as questions to investigate; avoid presenting a suspected cause as the finding.
- Show the comparisons already made. Identify any reference filament or repeat test, its conditions and its result. Log each change separately. Limit conclusions to the samples and conditions checked; do not use a comparison alone to assign responsibility for an entire batch.
- Send an initial report and name the open decisions. List missing files or identifiers and who will supply them. Ask which check or reference should be used next. Agree who reviews the follow-up evidence and who can change the sample’s approval status.
Should product, packaging and order approval be signed separately?
Yes. A filament can pass your print tests while the label, retail box or order details still need work. Record each decision separately instead of asking one signature to cover all three.
- Product: the identified sample meets the agreed checks for its intended use.
- Packaging: the specific label, artwork and packaging version have been checked and accepted.
- Order: the buyer has separately agreed the written order details and given the go-ahead.
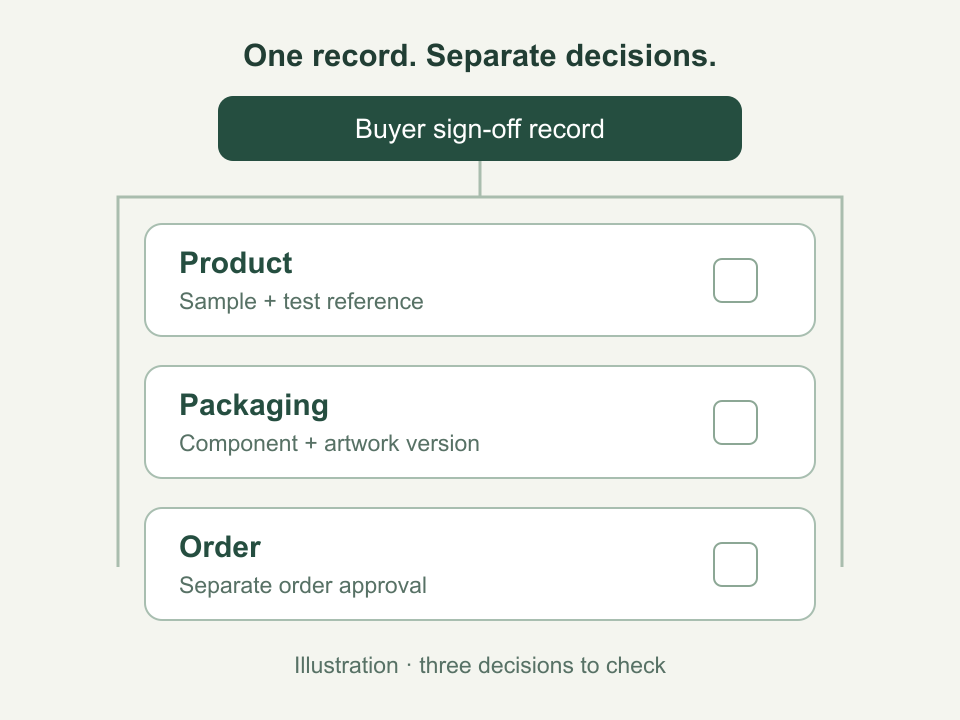
For example, your team might approve the filament but ask for a label correction before accepting the packaging. That need not undo the product test, but it also does not mean the order is ready to go. Write down the remaining change and wait for the correct person to sign it off. For a private-label filament project, keep the accepted product sample and packaging version together so purchasing and the brand team are working from the same references.
What happens when the supplier changes something after approval?
Agree a change-notification process with the supplier before placing the order. Ask them to identify proposed changes to the formulation, color, spool or packaging and explain which approved item would change. Keep the earlier approval; add a new dated decision rather than replacing the old record.
Decide what to check again based on what changed. A formulation change should go back to your technical lead to decide the new evaluation needed. For an artwork-only change, have the packaging reviewer check the revised artwork and confirm whether anything else is affected. Record the tests or checks requested, the result, and who accepts the revision before it is used for your order.
Use the quality-control page as a starting point for questions about the checks and information available for your project. Agree what will be supplied in writing; do not assume a sample approval guarantees unchanged future material or a particular set of inspection records.
We reply within 12 hours, and commercial orders start at 100+ spools (approximately 100 kg).
Conclusion
A useful filament sample approval checklist connects the sample on your desk to a clear buying decision. Check the physical filament and print results against the TDS or your agreed spec, then keep the results with the signed record. Treat product, packaging and order as separate decisions, and write down what must be checked again if something changes. The goal is a record the next person on your team can use without having to reconstruct the whole conversation.
Tell us the material, volume, packaging and destination — we reply within 12 hours. Reference MOQ from 100+ spools (≈100 kg) for standard colors.
Discuss Your Project